
Driving Iceland's Ring Road is an unforgettable experience, showcasing some of the most breathtaking landscapes in the world. This road trip will take you through some of the most remote areas of Iceland, providing an opportunity to see a side of the country that few visitors ever get to experience. I have visited Iceland on many different occasions since 2016 as part of my job as a trip leader & tour guide. On each trip, I have found myself on the Ring Road at least once.
No matter where in Iceland you’re planning to explore, you are bound to drive on the Ring Road at least once – it the main highway running around the island.
Whether you're an experienced traveler or planning your first trip to Iceland, there are a few things you should know before hitting the Ring Road. With my experience doing both self-drive and organized road trips, I am here to share all of my insights and expertise. This Ring Road travel guide is designed to answer all of your questions and empower you with the need-to-know information that will help you feel confident tackling a roadtrip in Iceland. This blog post will cover everything you need to know about driving Iceland's Ring Road, including practical tips for a successful journey, where to stay along the way, and the best time of year to go.
Everything You Need To Know About Driving Iceland’s Ring Road
What is the Ring Road?
The Ring Road, also known as Highway 1 or Route 1, is the main highway that encircles the entire island of Iceland. This popular highway is 825 miles (1,328 kilometers) long, and it is one of the best routes to explore the island's stunning natural beauty. The distances in this relatively small country are deceptively long. 825 miles is roughly the equivalent driving distance from Chicago to Boston, or from Cologne to Barcelona.
Nearly all Icelanders live in Reykjavik or Akureyri, so when you get farther outside the cities, it becomes really remote, really fast. Even along the Ring Road, there are pretty limited amenities outside of the cities. Restaurants, gas stations and cafes are sparse, so you need to plan ahead. This is especially true in eastern Iceland. I think there was a day where we drove for 4 hours without seeing a town or place to stop. You’ll really start to feel like you’re in the middle of nowhere!

When to Drive the Ring Road
One of the biggest considerations to think about when considering a Ring Road roadtrip in Iceland is the season. I read some pretty nasty stories about adverse weather prior to my first trip, so I was feeling a little anxious about driving the Ring Road. It is important to be aware of the weather and road conditions, as they can vary greatly depending on the season.
Spring & Fall
In the spring and fall, Iceland’s weather can be unpredictable. While it is still possible to drive the Ring Road during these seasons, driver’s should be prepared for a mix of sunshine, rain, wind and even snow. It is always best to check the latest conditions before hitting the road, so you can be prepared for the journey ahead.
Summer
During the summer months of June to August, the weather is typically mild and sunny, making it the best time to drive the Ring Road. My first trip to Iceland was in July 2016 and thankfully, we had great luck with the weather. Iceland is pretty aware of seasonal tourism, and they clearly plan around an influx of visitors over the summer, so the road conditions are typically at their best with minimal road closures or construction.
Winter
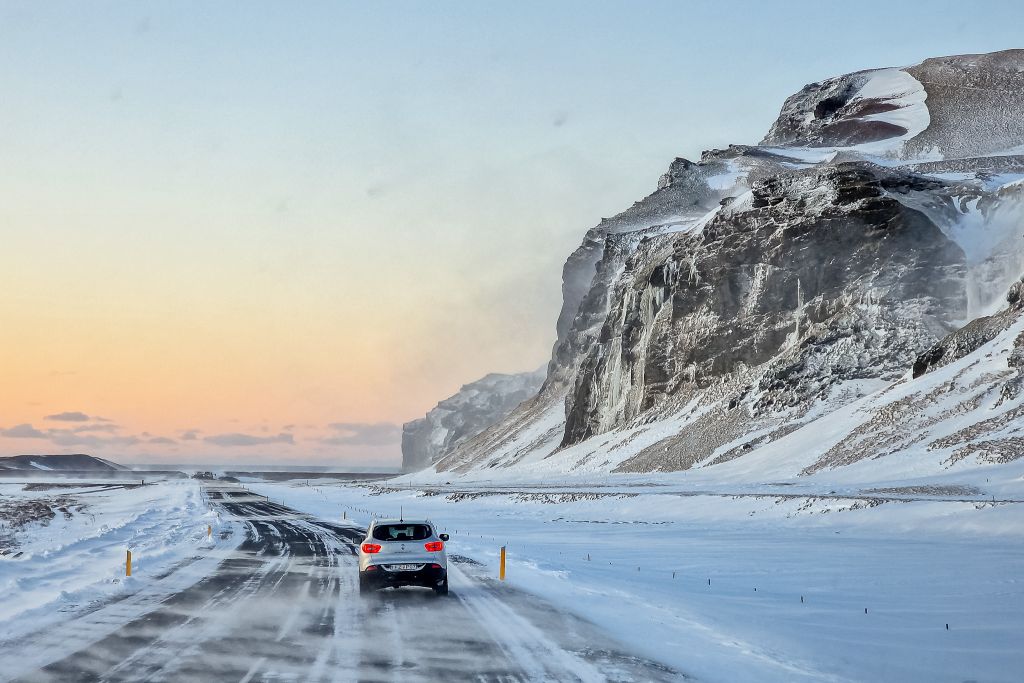
In the winter, the weather can be extremely harsh with heavy snow and strong winds. On my latest trip in December 2022, we ran into a lot of road and driving issues due to the weather. As a result, it's not always recommended to drive the Ring Road in winter, as the roads can be icy and dangerous. If you plan a Ring Road roadtrip in the winter, prepare for potential diversions or itinerary adjustments depending on the weather. You should consider renting a car with studded tires and have experience with winter driving.
How to Get Around in Iceland
Self-Drive vs Organized Tour
Much of Iceland’s appeal lies in its raw natural beauty, i.e. far away from Reykjavik. I think Iceland is best visited as a road trip. Because of the nature of the Iceland's geology, transportation options are fairly limited. Iceland only has a few domestic airports and very few long-distance bus connections. As such, the best way to experience the Ring Road is on a road trip. There are essentially two ways to explore Iceland with a vehicle -- a self-drive tour or an organized tour.
Self Driving Option
If you rent your own camper van or car, you’ll have total freedom to visit exactly the places you want. The benefits of going on a self-drive tour of Iceland are, of course, ultimate flexibility. You can plan as many stops as you want and take as many detours as you want. Every photo stop is possible (you’ll be constantly pulling over for photographs, I can promise you that). With a little extra effort and research, anyone can plan a trip on their own, allowing a totally customizable Ring Road itinerary!
Organized Driving Option
The benefits of going on an organized group tour are fairly obvious – you don’t have to worry about any of the road trip logistics. I am a trip leader for FTLO Travel in Iceland and one of the major reasons why travelers choose to travel with us is the ease. You wake up and get in the car without having to worry about gas, weather, navigation or any of those other pesky concerns.
Lots of organized Ring Road tours hit the major highlights of Iceland, spread out over a few days or even a week. A few bus companies in Iceland I can recommend are Bus Travel Iceland as well as Teitur Travel. If you don’t have a driver’s license or aren’t comfortable driving in Iceland, then group tours are a great way to see the highlights on a reasonable budget.
Renting a Car or Van
Prior to traveling to Iceland, you’ll need to decide whether you want to drive the Ring Road in a standard car or a camper van. Depending on the size of your group, this is one of the most important decisions. The major benefit to renting a campervan is that your accommodation is included, so you don’t need to plan around hotel availability or location.
Personally, I am not a camping girl. I’ll take a nice hotel, thanks. As such, I have only ever self-driven the Ring Road in a car, picking up a car from one of the major car rental companies at the Keflavik Airport.
If you are traveling to Iceland outside of the summer season, you’ll want to upgrade to a four-wheel-drive vehicle. This will help you to tackle adverse conditions like ice or snow, and provide you the chance to get off the beaten track. In the peak summer season, it’s recommended to book a car well in advance of the trip. A minimum of 4-6 weeks ahead of time, particularly if you have specific needs, such as an automatic transmission. Car rentals are limited, and they can sell out quickly.
If you are up for a little more adventure, exploring Iceland in a campervan has to be one of the coolest experiences. This will bring you up close and personal with the stunning nature and remote locations Iceland is famous for. One of the most reputable camper van companies in Iceland is Happy Campers. Offering a range of sizes and amenities, Happy Campers has the perfect camper van for your needs. Most camper vans come equipped with a bed, running water, grill or small kitchen, battery-powered heating system and a large solar panel.
Hitchhiking
One thing that really surprised me the first time I drove the Ring Road in Iceland was the number of hitchhikers. There are a surprisingly high number of intrepid travelers on an ultra low budget who choose to hitchhike the route. Often times, they are hopping from one attraction to the next, especially along the southern coast of Iceland.
I personally wouldn’t travel this way, unless I was desperate or in some kind car trouble situation. But we did pick up two sets of hitchhikers while driving the Ring Road. Overall, Iceland is a relatively safe country with low crime rates, so plenty of tourists feel safe hitchhiking. Outside of the summer months, though, hitchhiking isn’t a great idea – it’s going to be far too cold!
Practical Tips for Driving the Ring Road
Fuel
Gasoline in Iceland can be expensive compared to other countries, especially the United States. Even if you’re driving a fuel-efficient vehicle (like we were), filling up the tank will cost you a pretty penny. In 2016, an average gallon of gas cost about $7.50, and it has only gone up since then. When I looked in December 2022, a gallon cost around $8.80. Of course, gasoline prices vary depending on the location, and can be even higher in rural areas. When you factor gas on top of the daily cost of the rental car and insurance, the total trip price escalates quickly.
You can find gasoline at most service stations along the Ring Road, including the major companies, such as N1 and Orkan. These stations are typically located in larger towns, but they will be farther apart in rural areas. Some service stations have self-service pumps, while others have attendants who will pump the gas for you.
Most service stations in Iceland are open 24 hours a day, but you shouldn’t count on it. Check the hours on Google Maps. I also recommend keeping your fuel gauge above a quarter tank, especially if you plan to drive outside of major towns and cities. It's important to plan your fuel stops along the Ring Road and keep some extra fuel in the tank, in case of any unexpected detours.
Groceries & Supplies
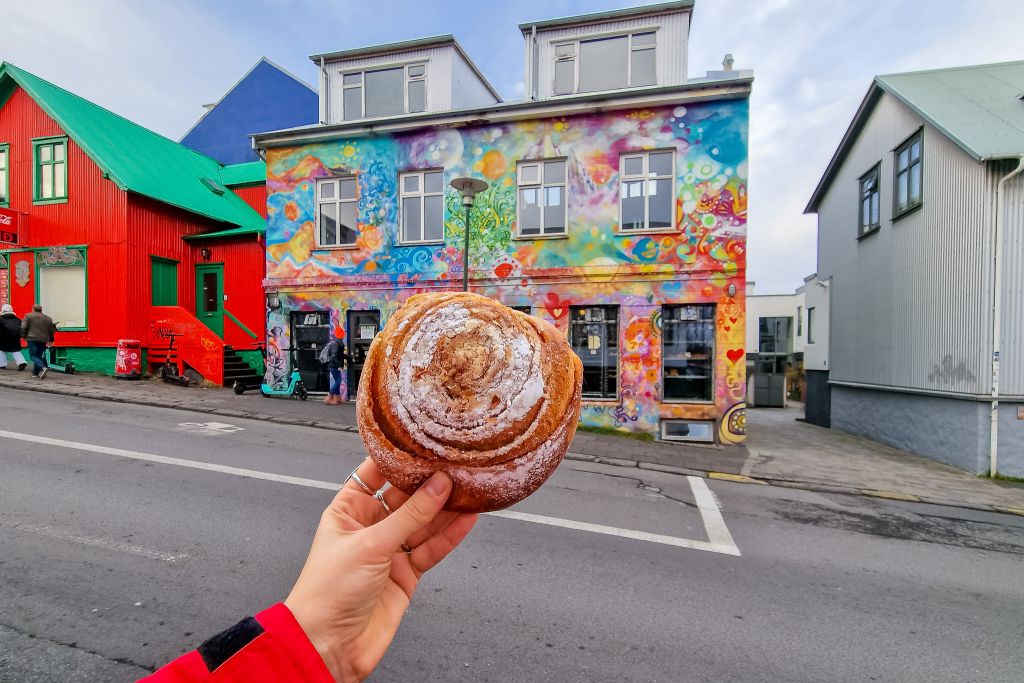
Along the same lines as fuel, it is a good idea to plan around food and water. In the remote areas in eastern Iceland, you never know when your next food, water or bathroom stop might be. As a woman who gets very easily hangry, these are two big concerns! I would recommend keeping a stash of high-protein and high-calorie snacks in your vehicle, along with a large canteen of water. Because Reykjavik is the biggest city with the most food options, I would recommend doing a big grocery stop before hitting the road.
Additionally, I would recommend packing a roll of toilet paper inside the car with you– just in case you need to make a roadside stop. Keep an extra plastic bag too, so you can store your used paper. Icelanders take littering really seriously and it would be quite disrespectful to leave your trash on the side of the road especially since nature is their biggest resource.
Animals Along the Road
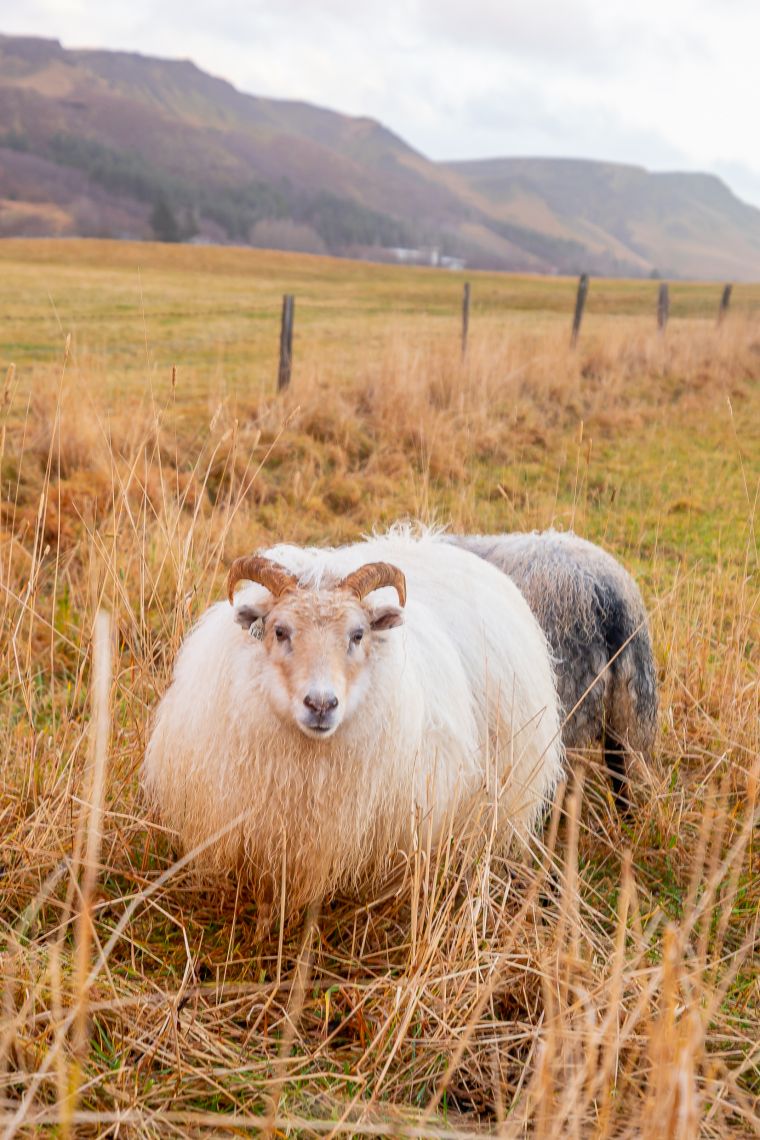
I read a lot about the wild roaming sheep of Iceland. And it’s true — there are sheep everywhere! It seemed like there were more sheep than people to be honest. Icelandic sheep are legendary because they are basically allowed to roam throughout the country during the summer months, eating whatever diet they like. With minimal gates or infrastructure to guide their paths, the sheep kinda just roam all over. There were a few times where we had to slam on the breaks to avoid hitting a sheep crossing the road, but they are otherwise pretty harmless. The sheep can get pretty close to the side of the road, so just make sure you are vigilant about their proximity.

Road Conditions
Route 1 is well-surfaced and well-maintained highway that is generally in pretty good condition. Icelanders drive on the righthand side of the road, and the Ring Road has abundance signage and well-marked exits. In the summer months, even inexperienced road trippers can feel confident driving in Iceland.
The best app for monitoring road conditions in Iceland is Faero & Vedur, which tracks all sort of factors but most important -- WIND. Wind in Iceland is not something to take lightly. It is one of the leading factors in road incidents, including buses tipping over and cars being pushed off the roads. If wind speeds are too strong, roads will close, including the ring road. This can leave you stranded for hours or even days (not like I'm speaking from personal experience or anything....).
Another unusual part of driving Iceland's ring road is the single lane bridges, of which there are lots. Always slow down when approaching a single-lane to make sure there isn’t anyone already on the bridge. There are typically mirrors on the ends to help you see across, but always practice an abundance of caution. Some of the bridges have small signs indicating the maximum allowed weight, and they do not allow large vehicles to pass.
Speed Limits
The speed limit on the Ring Road is almost always 90 km/h (56 mph). However, you should be aware that the speed limit is reduced to 80 km/h (50 mph) around cities and it is 70 km/h (43 mph) on gravel roads. Speed limits on the bridges and in certain areas may be different than on the main road, so it's important to pay attention to the signs. This may seem low, but it is set this way for safety.
As a speedy driver, I was thrilled to find that there were hardly any cops. Unfortunately I didn’t think about speed cameras, so you can imagine my surprise when a speeding ticket showed up in the mail a few months after my trip to Iceland. Turns out, Iceland has a strict policy for enforcing speed limits, and you should expect to see speed cameras and radar traps along the Ring Road. If you are caught speeding, you will be fined and will get penalty points on your driving license. The fines vary depending on the severity of the violation but mine was about $175…
Where to Stay Along the Ring Road
From charming and cozy guesthouses to luxurious resorts, there is something for every traveler along the Ring Road in Iceland. Because of the limited amenities in the remote areas, you’ll want to book your accommodation early in the planning phase. While this may limit the opportunity for spontaneity, it is essential to ensure a smooth trip. We waited until about 4 weeks before on my summer roadtrip, and some of our top choice places were already fully booked.
A few hotel options in the area that I like include:
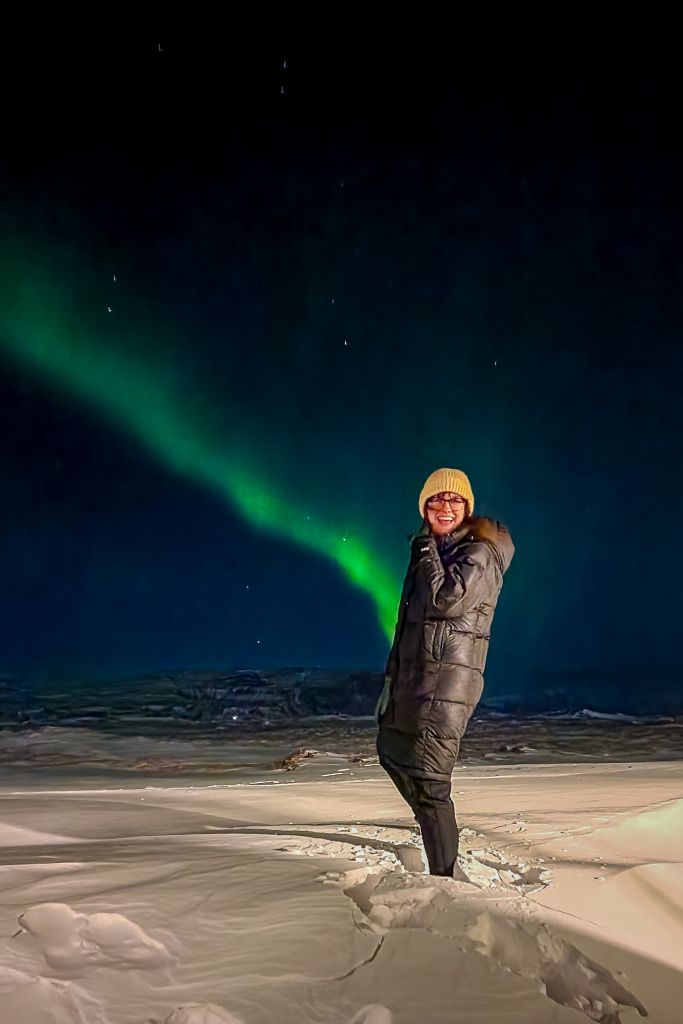
- Hotel Rangá (southern coast): known for its beautiful views and prime location for Northern Lights
- Hotel Kria (Vik): Great location, rooms are pretty spacious and the restaurant is yummy.
- Hotel Vík í Mýrdal (Vik): Another great location in Vik with a more modern vibe and a nice restaurant.
- Black Sand Beach Suites: located right on the Reynisfjara Black Sand Beach with fabulous views.
- Ion Adventure Hotel (Golden Circle): modern luxury and a unique design inspired by Iceland's natural elements.
- Grandi by Center Hotels (Reykjavik): Slightly off the main tourist drag, but rooms are modern and cozy.
- Skuggi Hotel (Reykjavik): Just off the main shopping street. Staff is so hospitable!
- Landhotel Hella (Golden Circle): Modern luxury with nice rooms. Spa is great!
- Fosshotel Glacier Lagoon: Lovely spa and quite close to the glacier lagoon. Restaurant is delicious.
- Magma Hotel: Location is random, but convenient. Cozy little cabins!
Planning Your Ring Road Route
Which Direction?
Because the Ring Road is a circle, you can go either direction! It is totally a personal preference. A majority of people seem to drive it counter clockwise, myself included. I took the counter clockwise route starting from Reykjavik. While this was a good choice, that route frontloads a lot of the big highlights along southern Iceland’s coast. This made the second half of the drive a little bit less impressive and exciting. If you went the clockwise route, you would end with a lot of the highlights rather than starting with them.
How Long?
If you drove the Ring Road in it’s entirety with no stops, it would take about 22 hours. In actuality, it will take much longer with stops and visits to destinations along the way. While I was able to finish the Ring Road in 7 days, our average driving per day was about 5 hours. We also had a few long days of driving with about 8 hours behind the wheel. I think the ideal length to drive the entire Ring Road circuit would be 10 days, going up to 14 days. To avoid this blog post getting too long, you can find a more detailed 10-14 day Iceland itinerary here.
Navigation
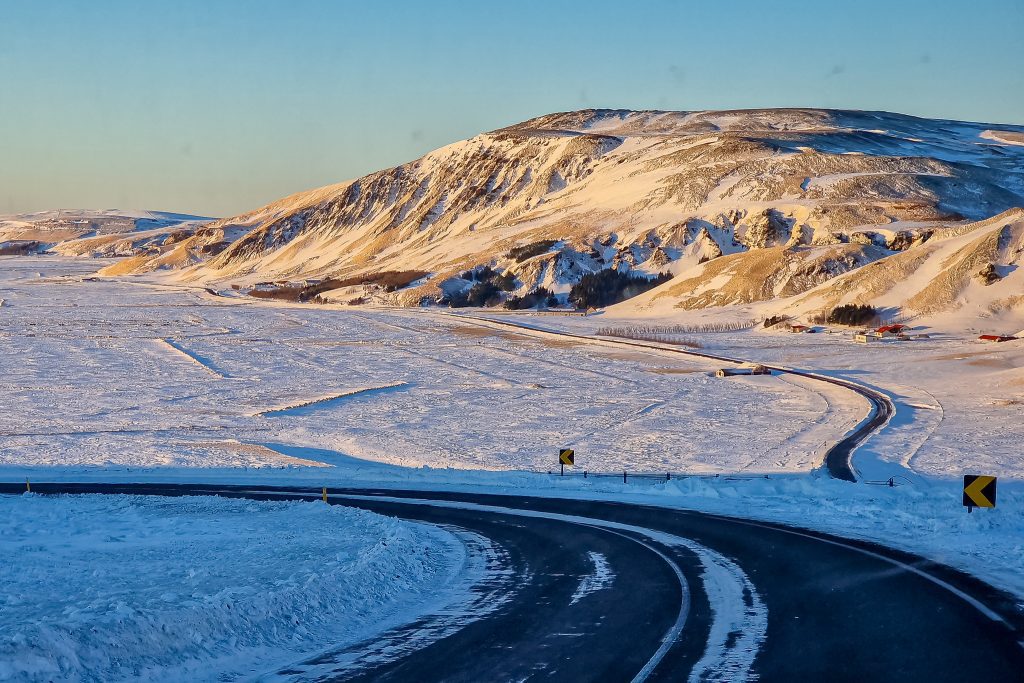
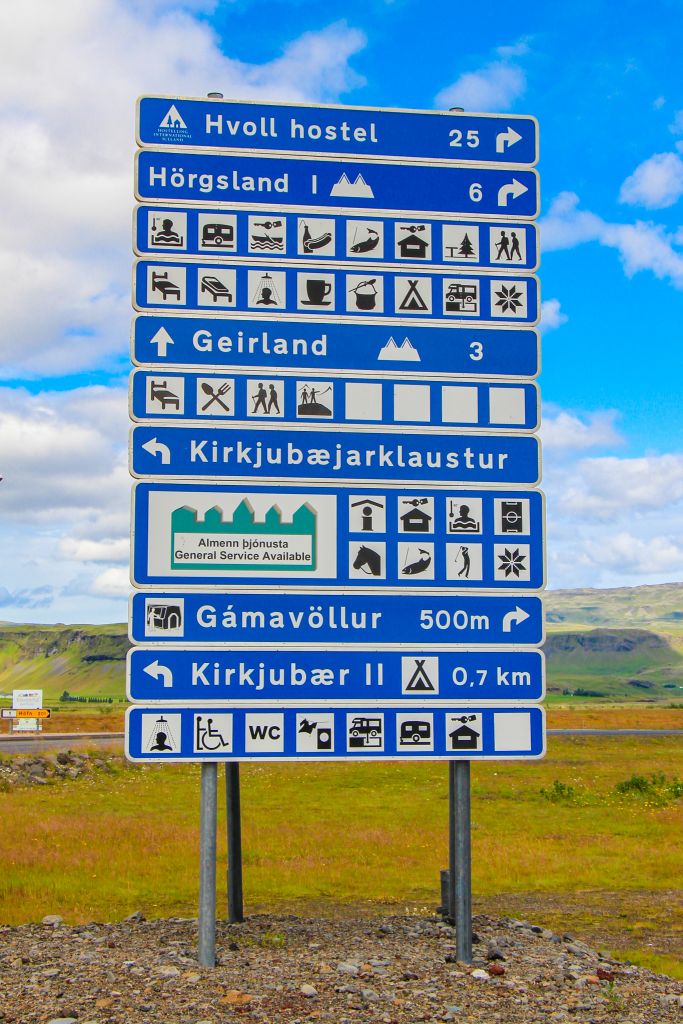
I was really surprised by how easy it is to navigate along the Ring Road. Nearly all the intersections have bright yellow and blue road signs indicating the towns, roads or tourist spots that you’ll see nearby. The Icelandic government has been very intentional and thoughtful about building their tourism infrastructure, and it is apparent as you’re driving around. Everything is pretty clear and well-marked. I especially like the icons they used in their signs – I found it entertaining actually. Just check out the photo below. There are so many icons to decipher!
Although highway 1 is easy to navigate, it’s still a good idea to download an offline map before you take off. Unless you buy an Icelandic sim, your coverage is likely to be minimal when you are driving the remote areas. It is good idea to have an offline version of the map, which includes the addresses for your accommodation and any specific places you want to visit. I downloaded my custom Google Map, and found it to be especially useful. If you do get stuck or have any issues, most Icelanders speak English and nearly everywhere offers bilingual resources.
What to See Along the Ring Road
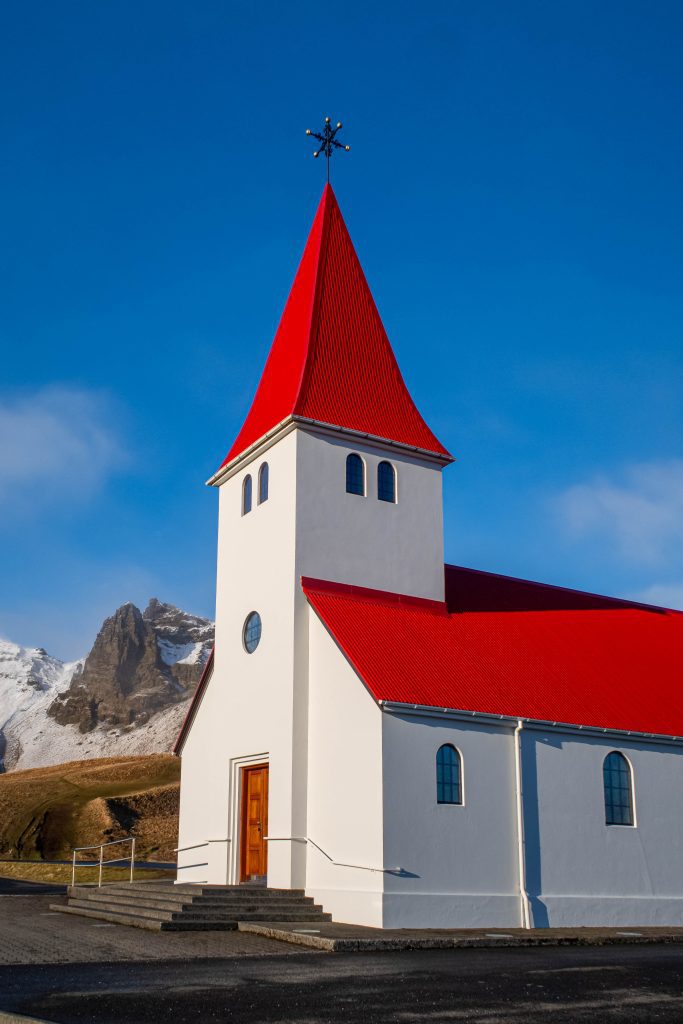
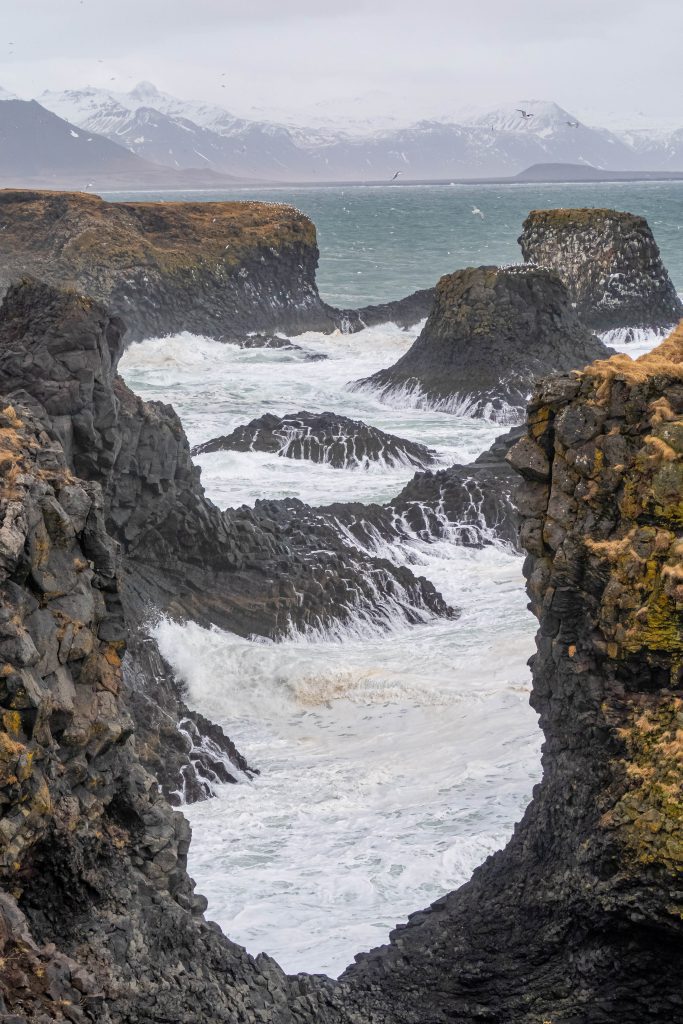
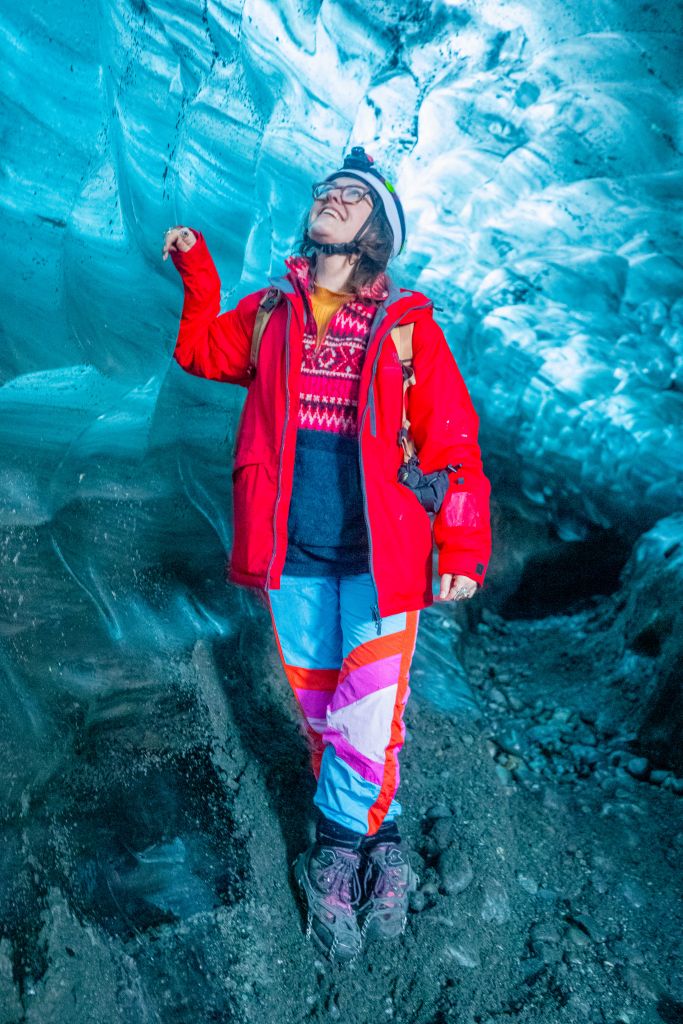
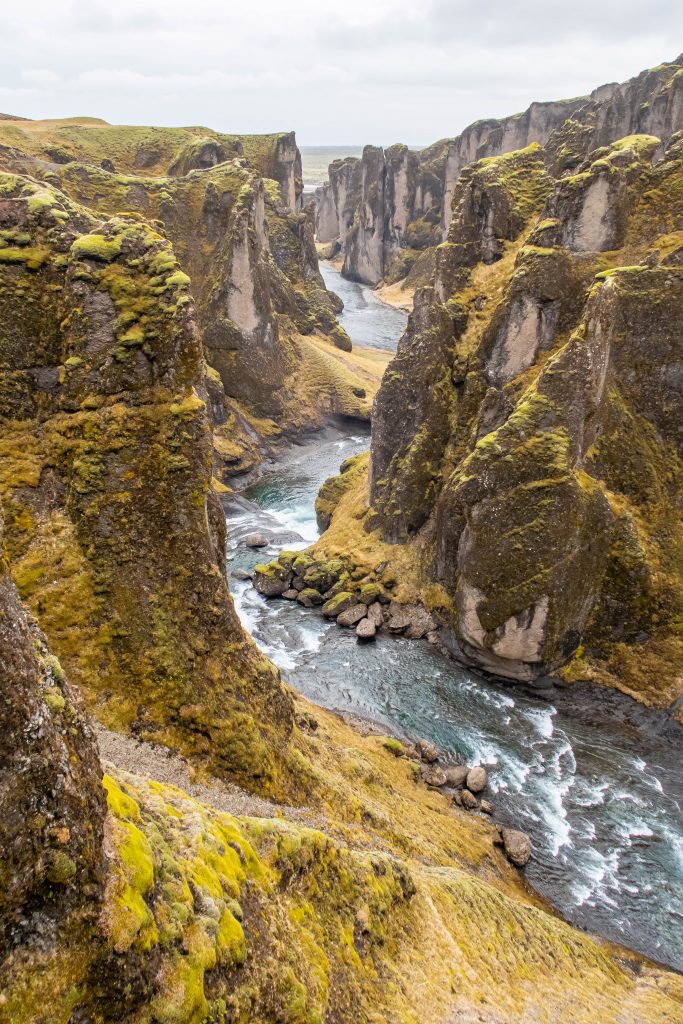
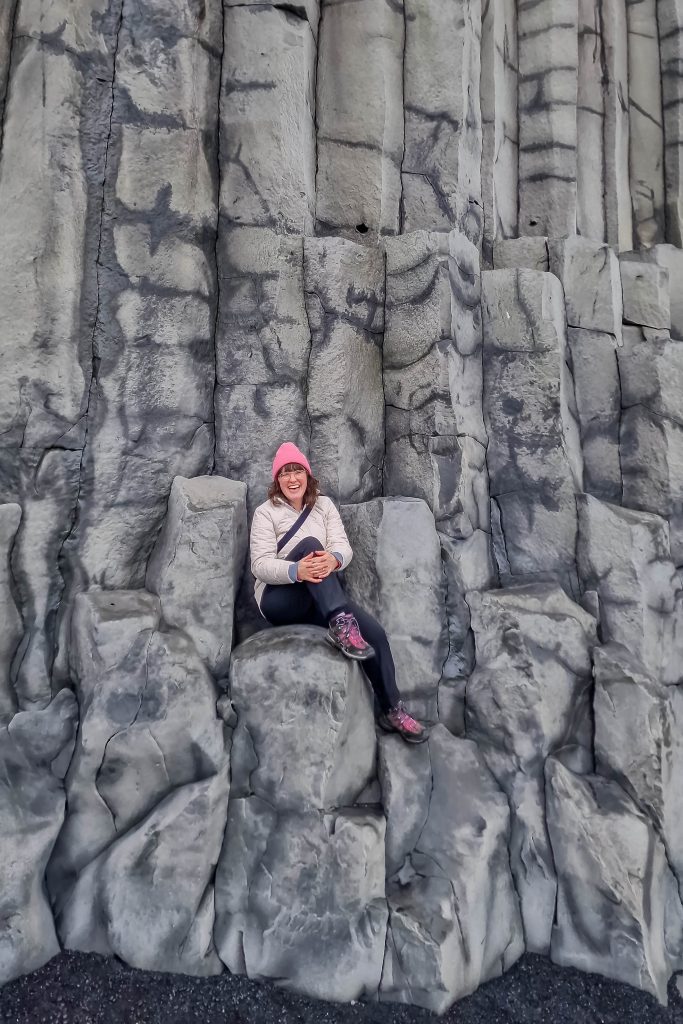
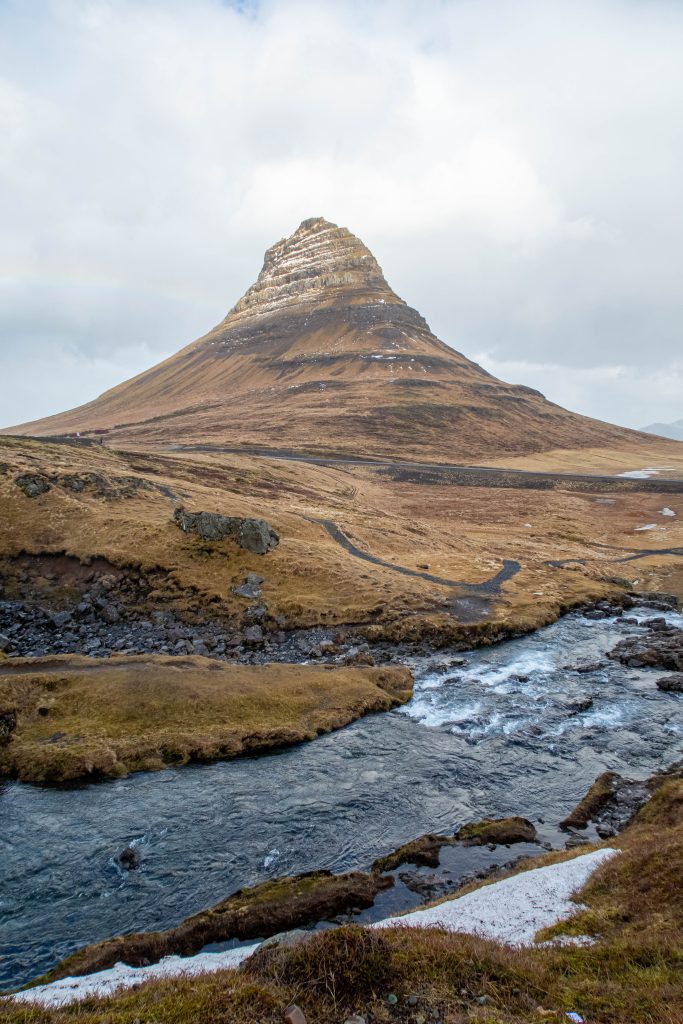
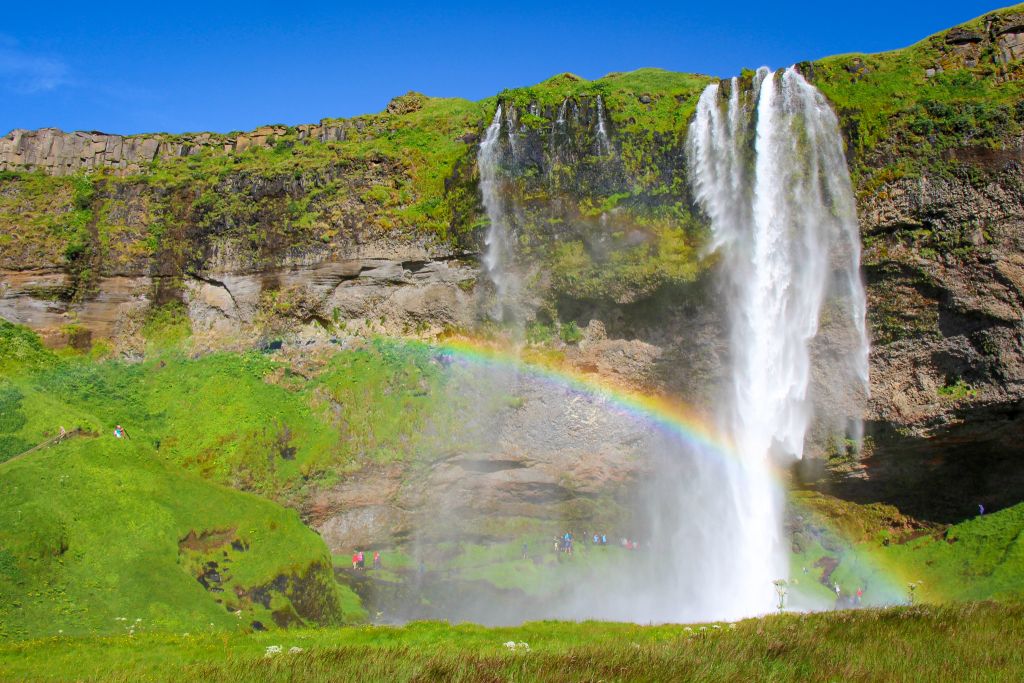
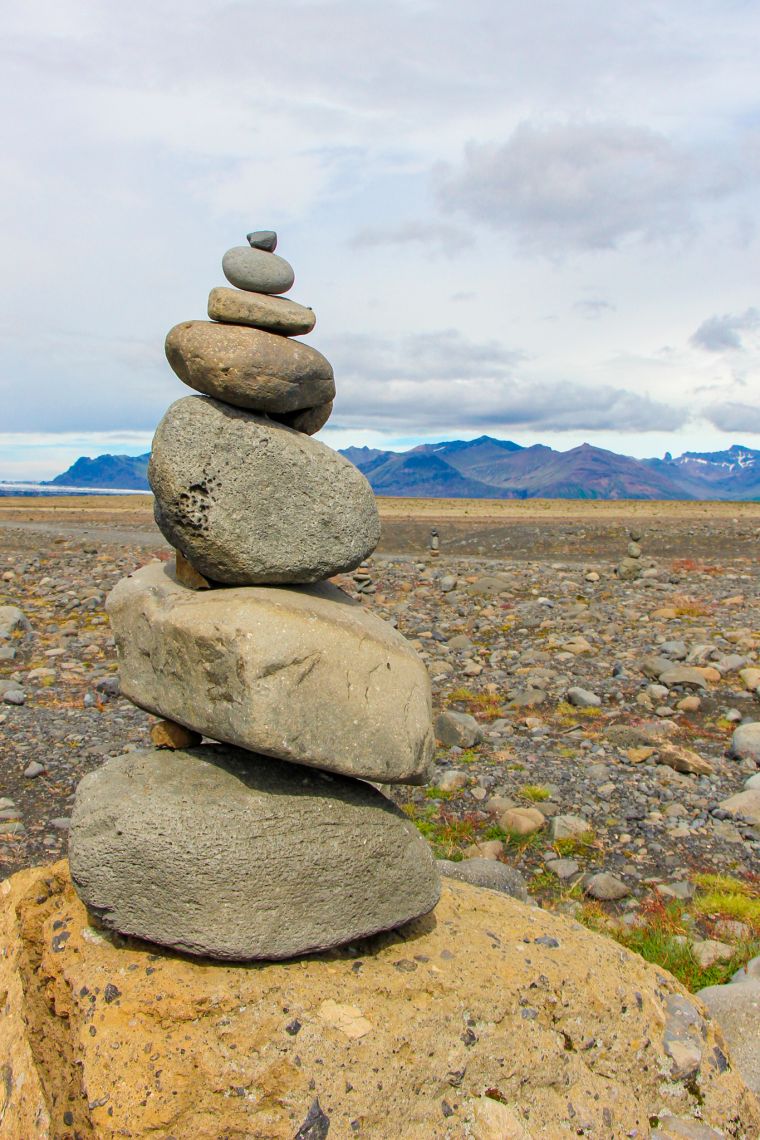
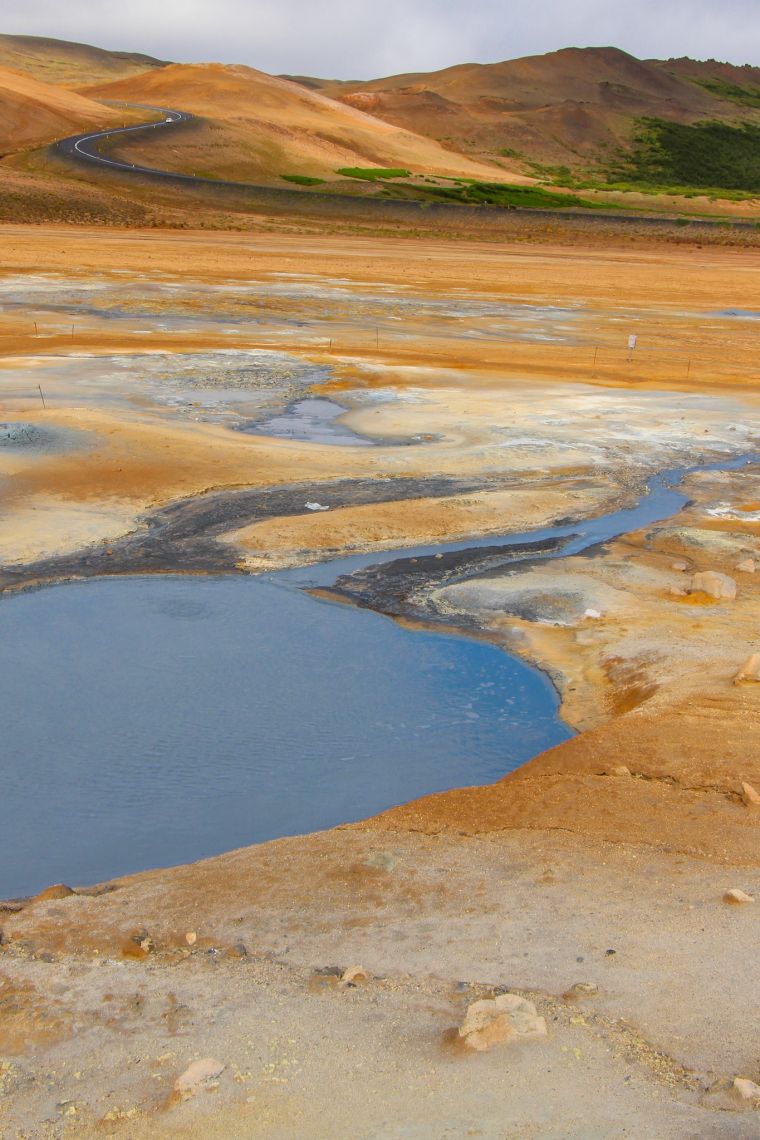
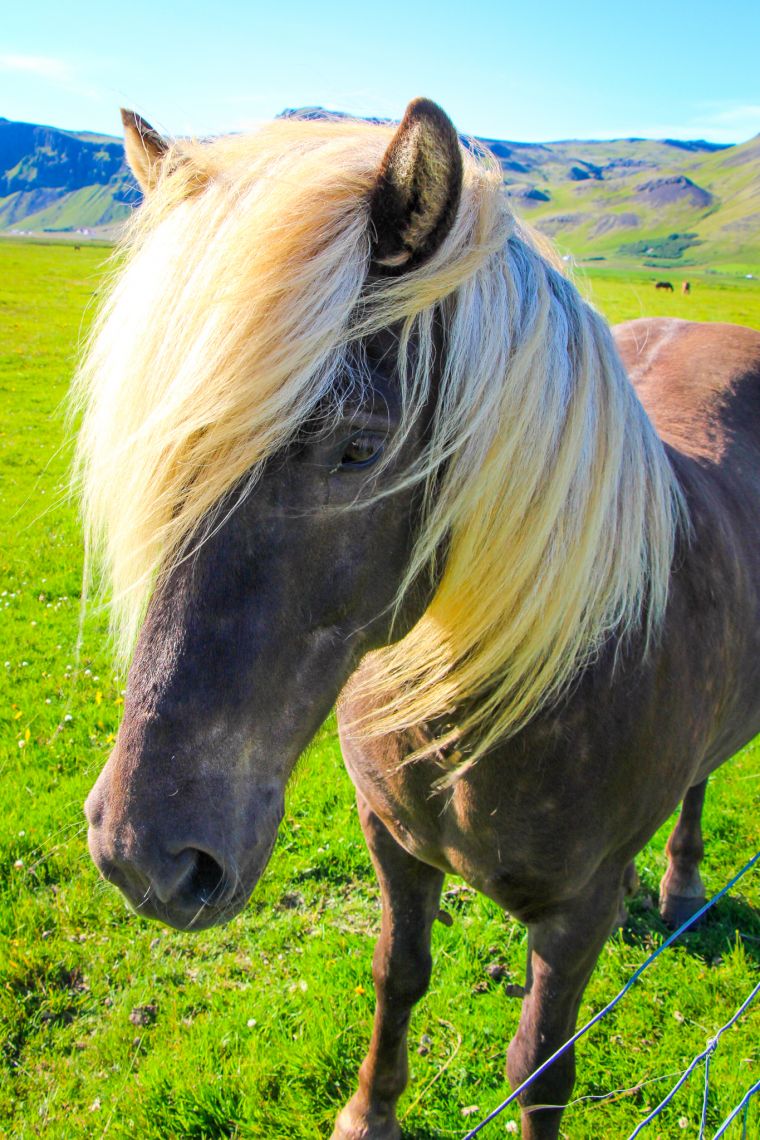
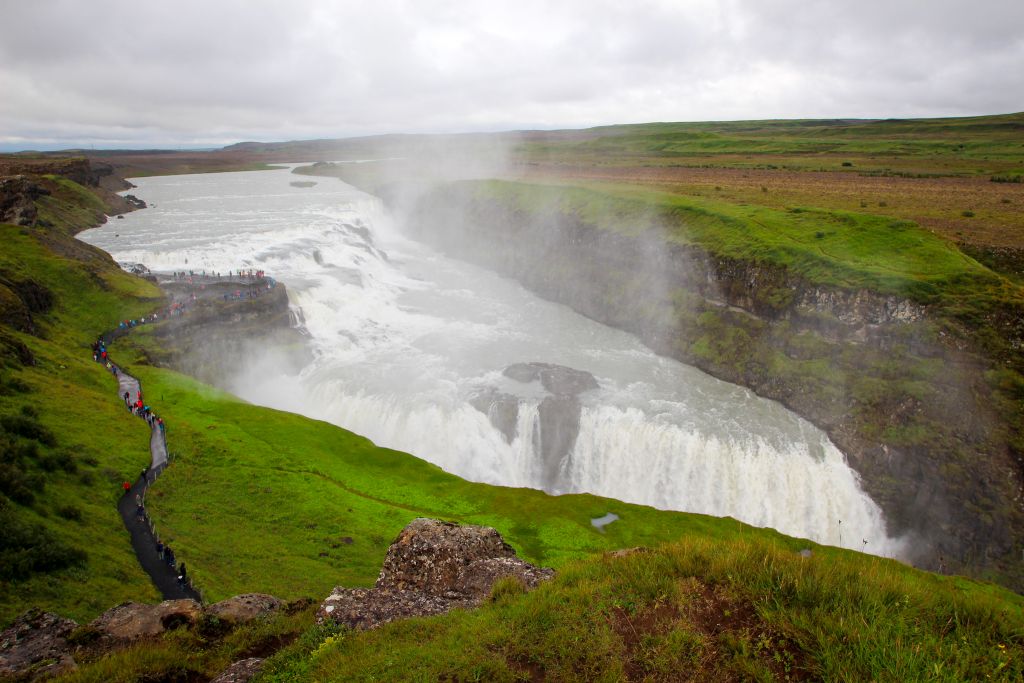
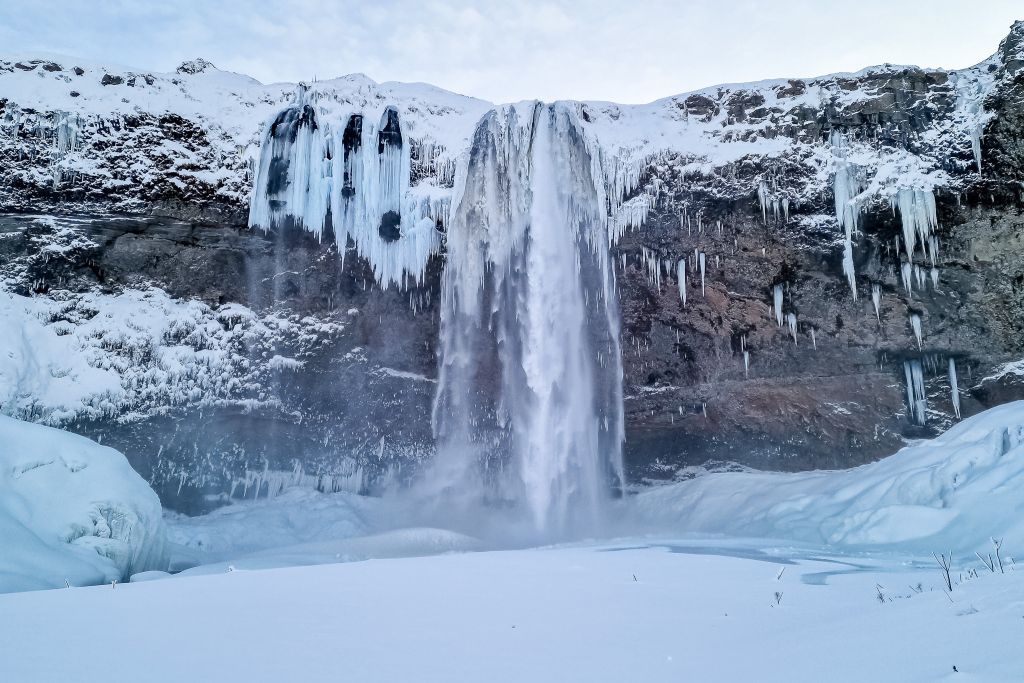
There is no shortage of amazing things to see along the Ring Road. There are waterfalls, bucolic farms, wild horses with their manes blowing the wind – it’s something out of a story book! My favorite stretch of the Ring Road lies along Iceland’s southern coast. There is an abundance of natural beauty here, such as the Black Sand beach, Skogafoss waterfall and Jökulsárlón Glacier Lagoon.
You can find a more detailed Ring Road itinerary, including what to see, explained here.
With so many well-marked signs, it’s easy to discover little spots to pull off all along the Ring Road. There are tons of scenic overlooks, hidden waterfalls, or tiny towns. My friend Angie and I got in the habit of saying our next beautiful view was “just around the bend”. You never know what you’ll see around the next turn and it’s definitely worth leaving a few extra hours in your daily plan to accommodate for unexpected adventures. I got in the habit of always having my camera ready, because the scenery along the ring road is truly incredible!
This post was originally published in November 2016, and updated in March 2025 after return trips to Iceland.
Have any questions about driving the Ring Road in Iceland? Comment below!
Share this story


A lovely article! Thanks. Here are some more practical information about the ring road:
http://www.rent.is/blog/the-ringroad
Happy travels!